BY Tiantian Xu

It was a summer night in Seattle. I ate some ice-cream, watched a Youtube tutorial, and downloaded a free trial of Principle. Several months later, I completed my 5th 100-day-project — 100 Days of Motion.
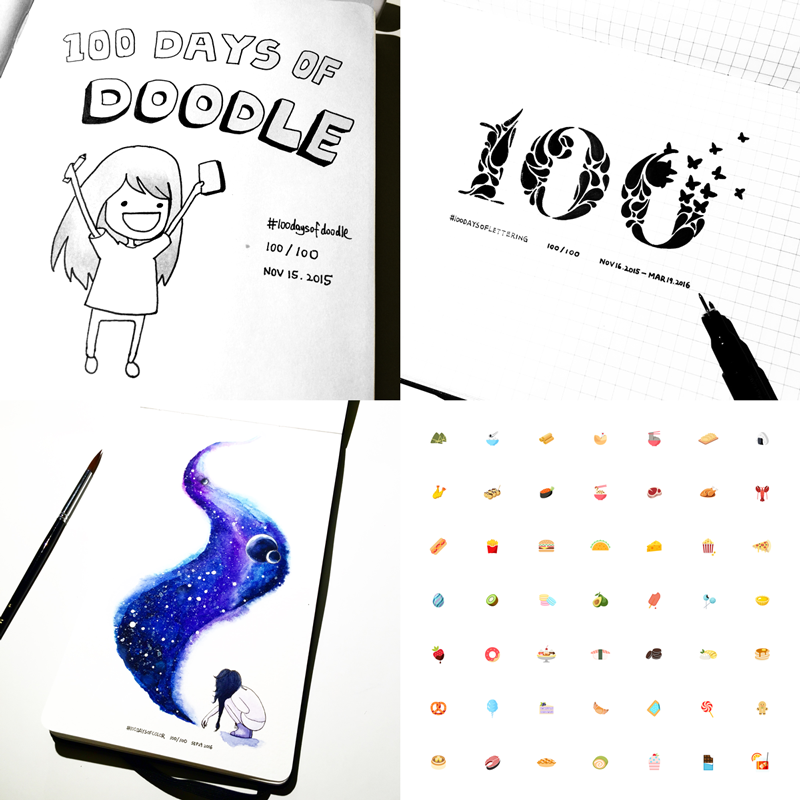
I started my first 100-day-project back in 2015. My past projects include 100 Days of Doodle, 100 Days of Lettering, 100 Days of Watercolor, and 100 Days of Vector Illustration.
For me, 100-day-project is a creative outlet. It allows me to express myself through art. The joy of creation and the challenge of learning a new craft always keeps me coming back for more.
In 100 Days of Motion Design, I taught myself to animate and created 50 pieces of vector-based animation in 100 days. You can find all of them on Instagram and Dribbble.
Here is my creative process, the tools I used, and a reflection on the project.
Tools
Sketch + Principle
During the first two weeks, I illustrated in Sketch and then imported it into Principle for animation.
- Sketch: A lightweight vector editing tool that is intuitive and affordable. I find it a handy tool to create simple illustrations.
- Principle: A lightweight prototyping tool that generates interactive animation. It works with Sketch seamlessly. I find it a good tool for beginners to learn animation properties and the timeline concept.
Illustrator + After Effects
After the first two weeks, I switched to Illustrator and After Effects for more advanced control.
- Illustrator: The most powerful vector editing tool. The illustration created in Illustrator can be imported into After Effects seamlessly.
- After Effects: The most powerful animation tool. It has a steep learning curve. Throughout the project, I have learned to use many of its advanced controls and built-in visual effects.
Creative Process
Creating animation is time-consuming. I broke the creative process down into four steps and aimed to complete them in two days.
Step 1: Look for inspiration (15 mins)
I collect motion design inspiration from Dribbble, Behance, and Instagram on a daily basis. My growing Pinterest board has been my go-to place for inspiration.
I also collect motion design tutorials on Youtube. Here is a list of tutorials I have used throughout my 100-day-project.
Step 2: Sketch ideas (5 mins)
Once I had an idea, I sketched its key movements on my notebook.

Step 3: Create illustration (40 mins)
I created the illustration and imported it into Principle or After Effects. Keeping the design file well-organized can significantly speed up the importation.
This tutorial shows how to prepare and import an Illustrator file into After Effects. Alternatively, the Sketch2AE plugin can import Sketch layers into After Effects.
Step 4: Create animation (60 mins)
I animated the illustration and exported the final animation as a short video. I posted the video to Instagram with the hashtag #100daysofmotionbytx
This tutorial shows how to export a video to GIF if you want to post animations to Dribbble.
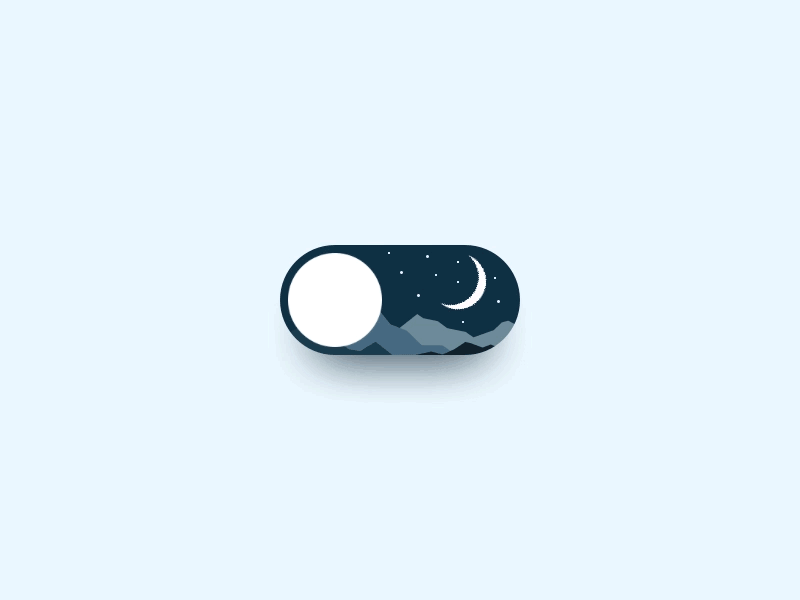
Day 1–14: Start with the basics
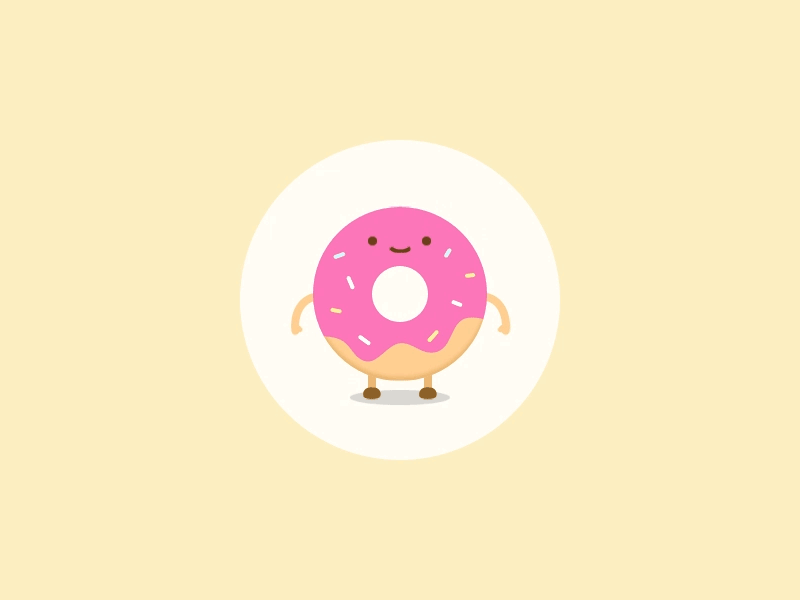
I created my first animation by watching Principle—Simple Character Animation (Jumping Donut).
I created an interactive prototype by following Principle — Avatar Animation Using Scroll Gestures.

Soon enough, I was able to create animation in Principle without following tutorials.

Day 15–70: Climb the learning curve
During day 15–70, I developed the following methods to climb the learning curve of After Effects.
Method 1: Watch tutorial and create from memory
I watched the video tutorial in 1.5x speed and tried to create the animation from memory.
When necessary I wrote down the key steps and only revisited the tutorial if I felt stuck. I also made an effort to memorize the common After Effects shortcuts to help speed up the process.
I created the smoke effect after watching Smoke Animation — After Effects Tutorial.

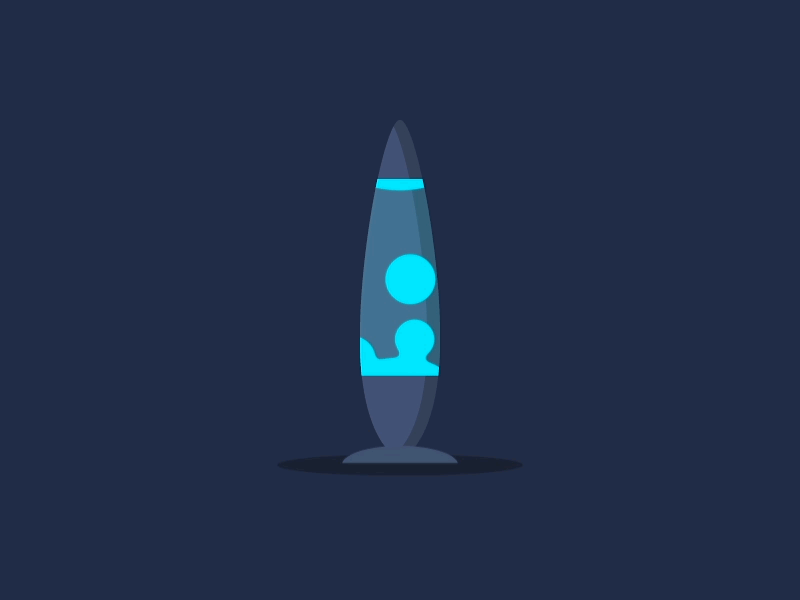
I created the lava lamp after watching After Effects Tutorial — Lava Lamp.
Method 2: Rebound other people’s work
I studied other people’s work on Dribbble frame by frame and then came up with my own idea.
I rebounded Bouncy Fruits by Deekay. I deconstructed his work to study the “Squash and Stretch” animation principle.

I rebounded Ducky Walk Cycle by Tony Babel. His tutorial After Effects—Walk Cycle Tutorial taught me how to animate walk cycles. (The character was inspired by a doodle from Skinny Andy.)

Method 3: Re-apply learned skills intentionally
Repetition is the key to reinforce a newly learned skill. I intentionally re-applied the skills I learned to create new animation.
I created the bouncy pumpkin by re-applying the “Squash and Stretch” animation principle.

I re-applied what I learned from Tony’s walk cycle tutorial to a flamingo.

Method 4: Read book to connect the dots
Halfway through the 100-day-project, I took a day to read <Adobe After Effects CC Classroom in a Book>. I was able to connect the dots by revisiting the learned skills in a more systematic way. I also discovered new techniques that I wanted to try.
Day 71–100: Create from the heart
Once I became comfortable with the tools, I created animation from my heart.
Some of my work was inspired by my favorite games and movies.
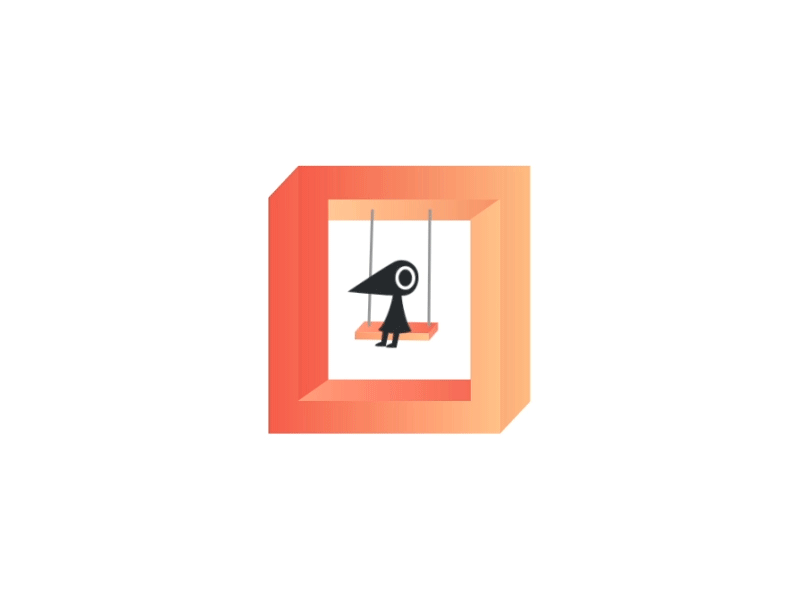

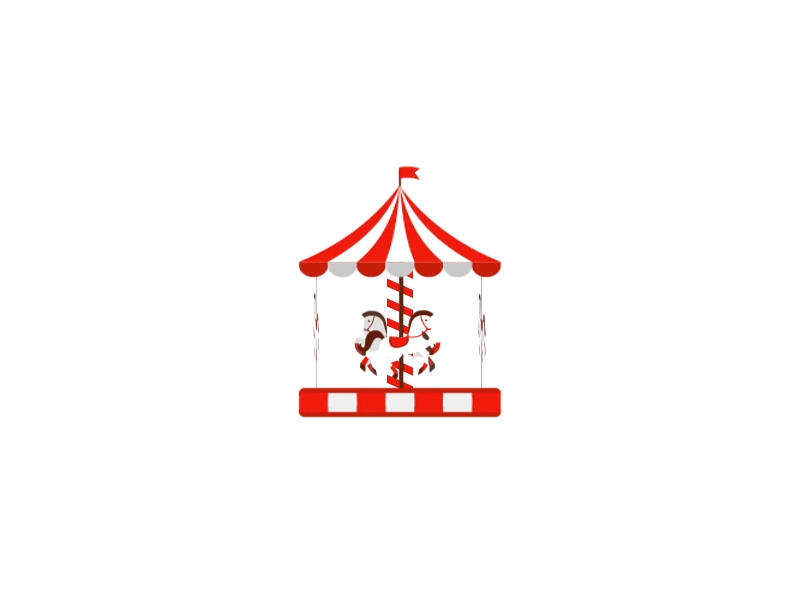
Some of my work was inspired by other people’s illustrations.
Below was my submission to the Uplab loader design challenge. It pushed me out of my comfort zone and motivated me to learn new techniques.
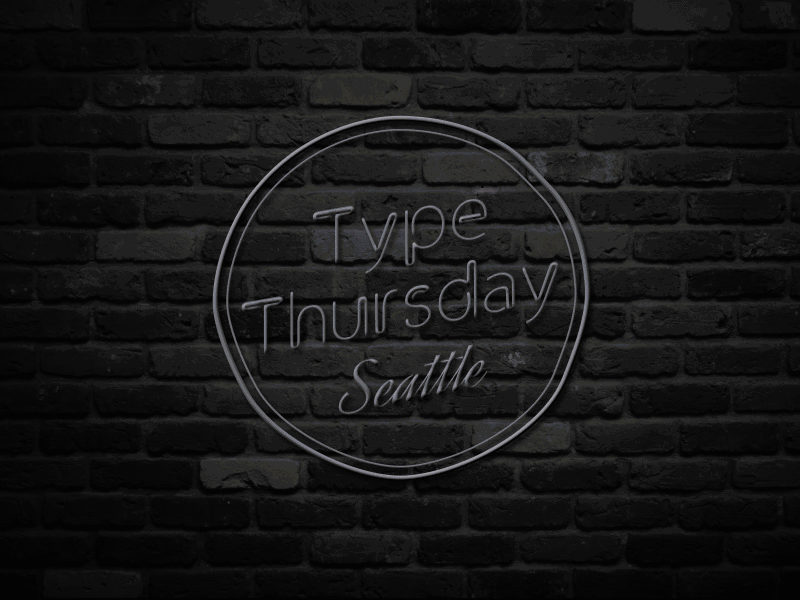
I created artwork to promote Type Thursday Seattle — a monthly design meetup that discusses work-in-progress projects that focus on letterforms.
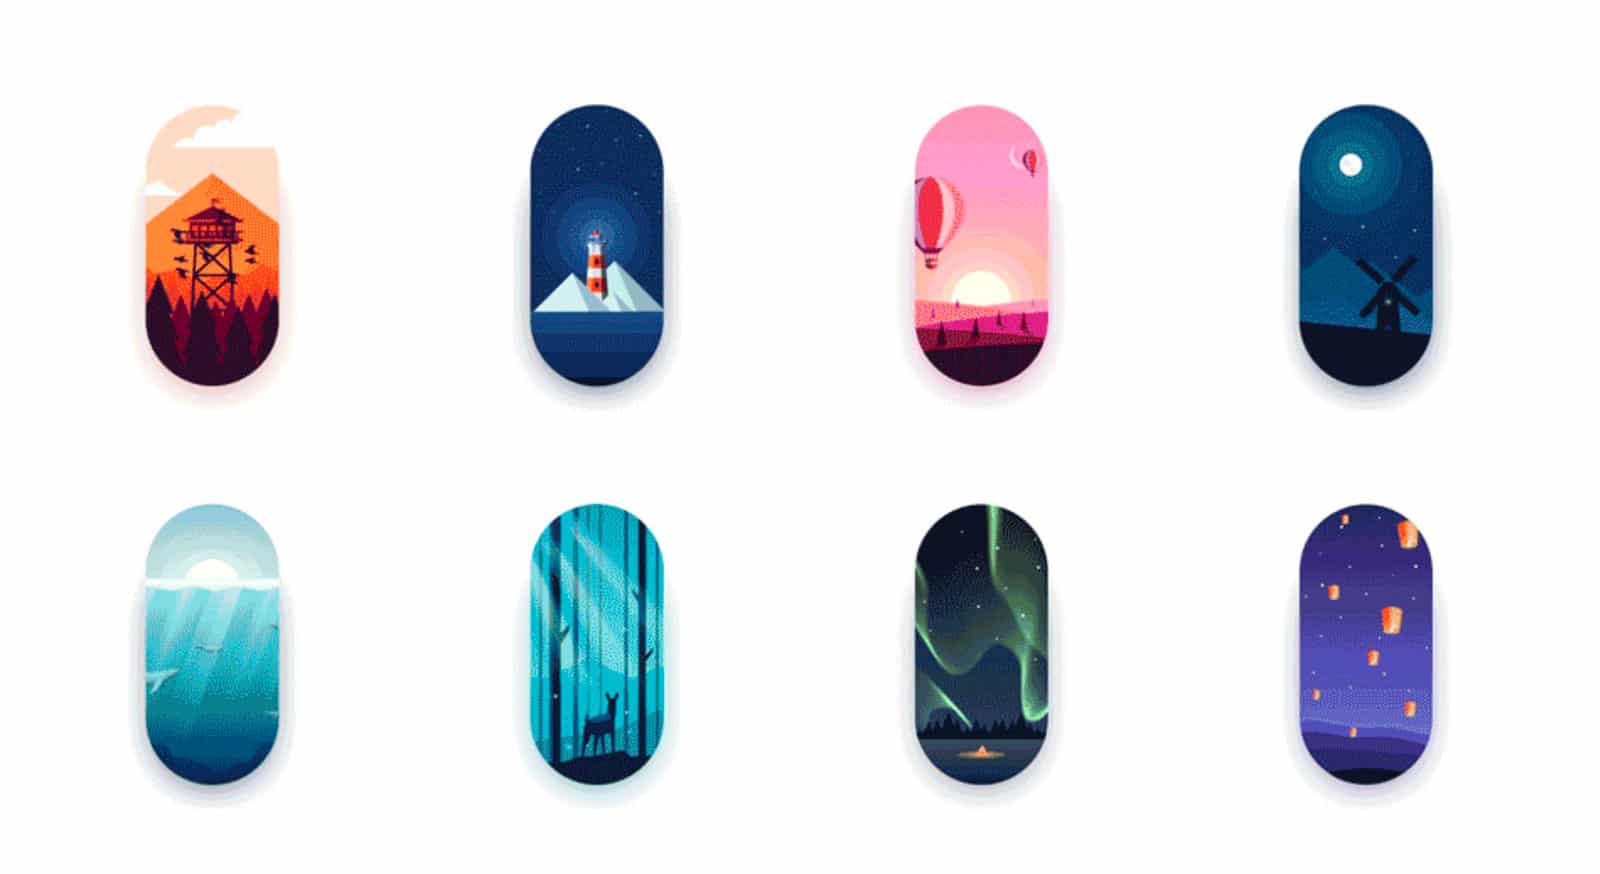
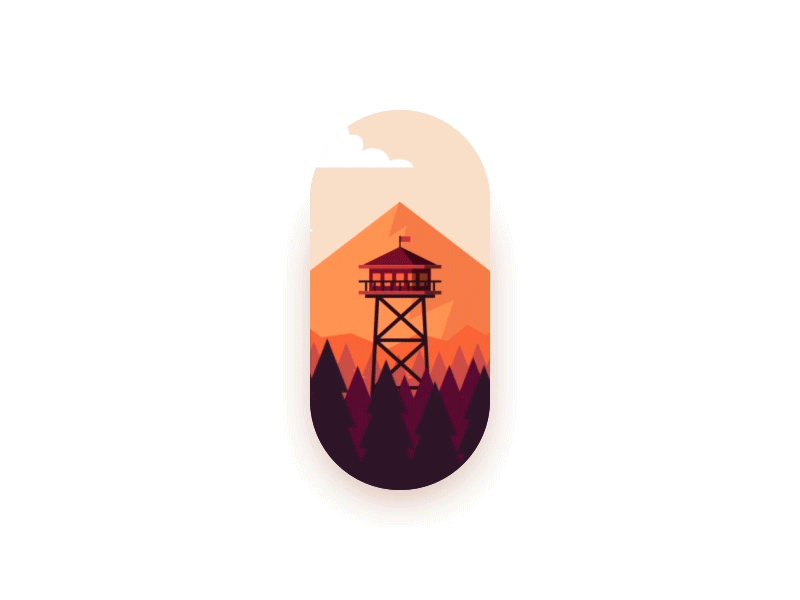
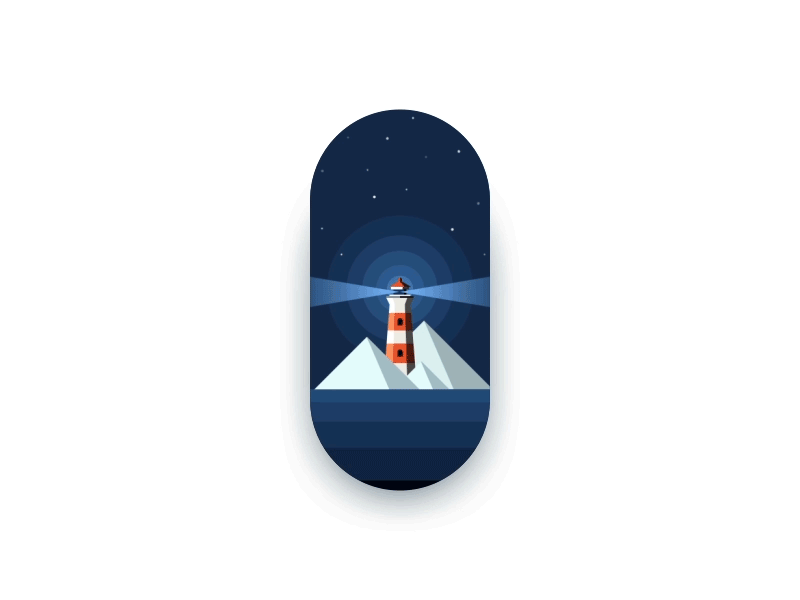
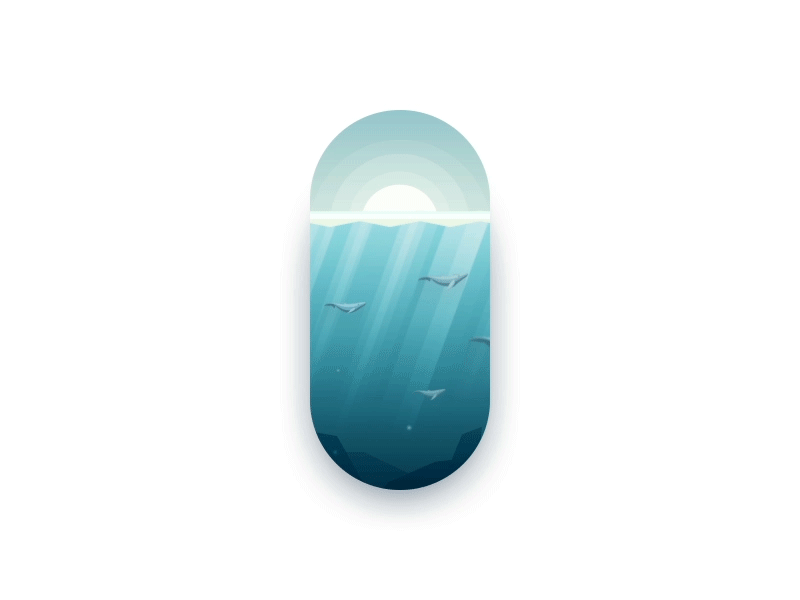
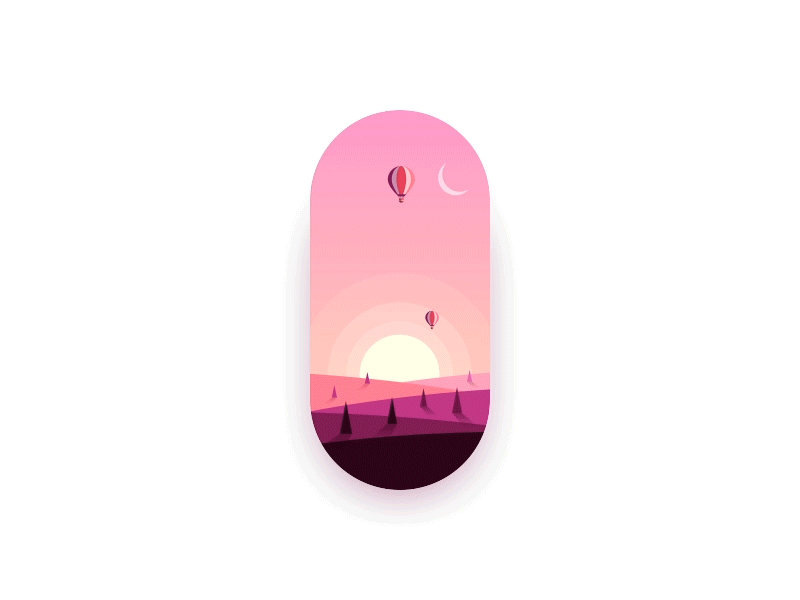
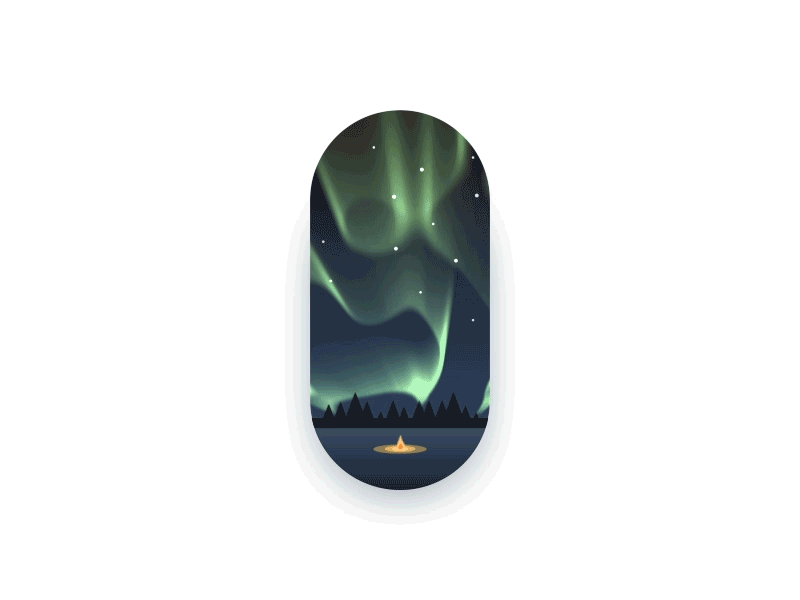
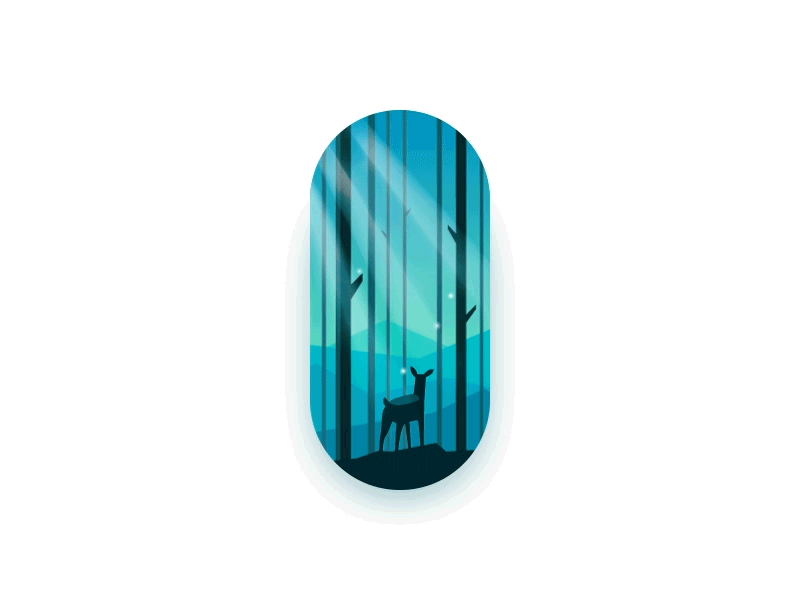
I created animation for places I have been and places I want to go.

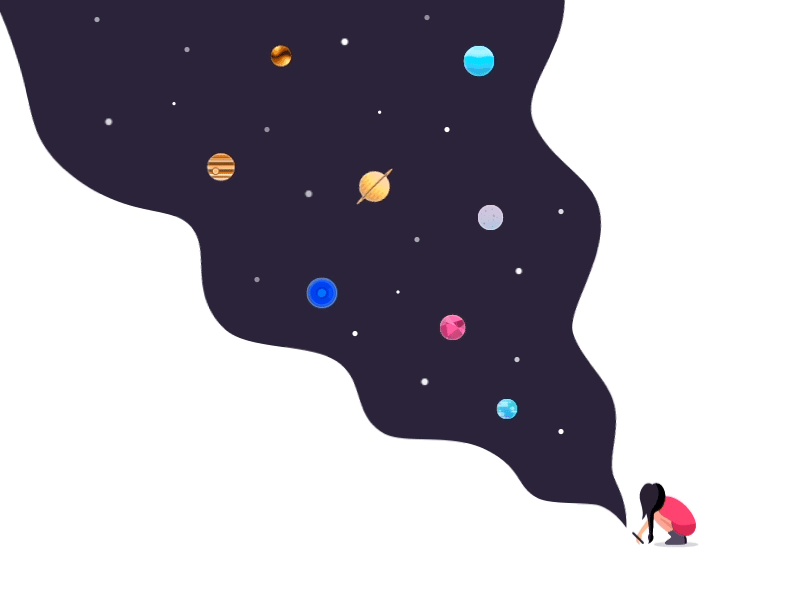
At the end of the 100-day-project, I rebounded the Galaxy Girl from my 100 Days of Watercolor.
Reflecting
1. Driven by ideas
Once I had an idea, I was driven to bring it to life. It did not matter what techniques I needed to learn.
For example, I wanted to express my love for reading. To make my idea of flipping book come true, I found a tutorial Open Your Book on Youtube and learned how to turn on 3D layer for a 2D object.

Similarly, I wanted to create a cup of pumpkin spice latte. I found a tutorial Flat 2D Smoke Clouds on Youtube and learned how to use slider control and wiggle expression.

The idea-driven approach has kept me motivated and pushed me to discover new techniques.
2. Stay humble
I was optimistically confident about my motion design skill at the beginning of the project. My confidence dropped rapidly as I started exploring After Effects — the huge skill gap made me realize how limited my experience and knowledge in motion design actually was.
The Dunning-Kruger effect describes the cognitive bias in which people of low-ability have illusory superiority and mistakenly assess their ability as greater than it is.
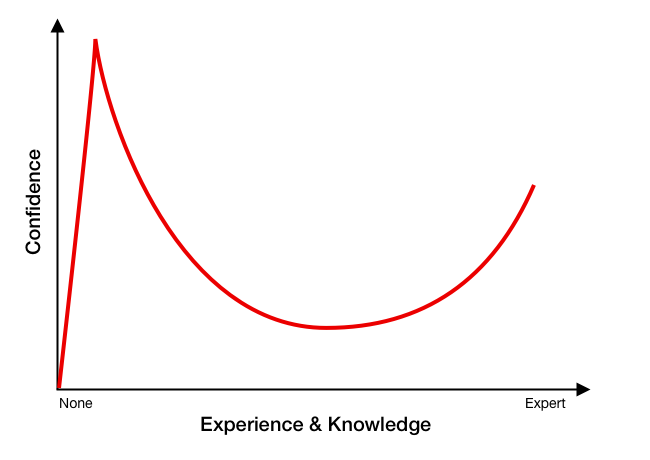
The more I became aware of my own incompetence, the humbler I became.
In order to improve my own craft, I need to stay humble, regardless of how much I thought I already knew.
3. Be the 1%
Before I started the 100-day-project, I spent most of my spare time consuming content: social media, Netflix… Sometimes I might even take an online class or read a book. But all of these things were just input.
In Internet culture, there is a “1% rule” that describes the participation rate of an internet community: only 1% of the participants of a community actively create new content, 9% of the participants edit content, and 90% of the participants only view content.
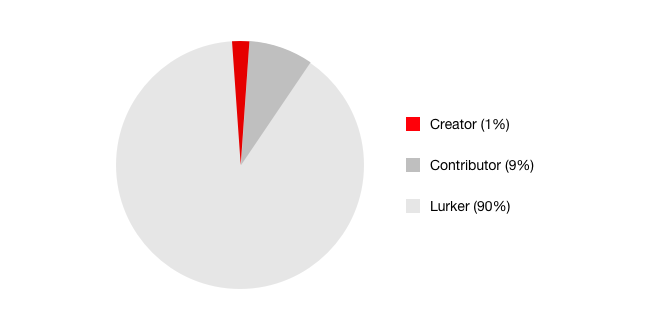
Since I started the 100-day-project, I became a creator. I started making things I like, learning a new craft, and influencing people around me in a positive way.
I want to belong to the 1% people who creates content — this thought has motivated me to show up every day, especially when it’s hard.